10 Photo Prep Tips to Train Better AI Portraits for Your Personal Brand

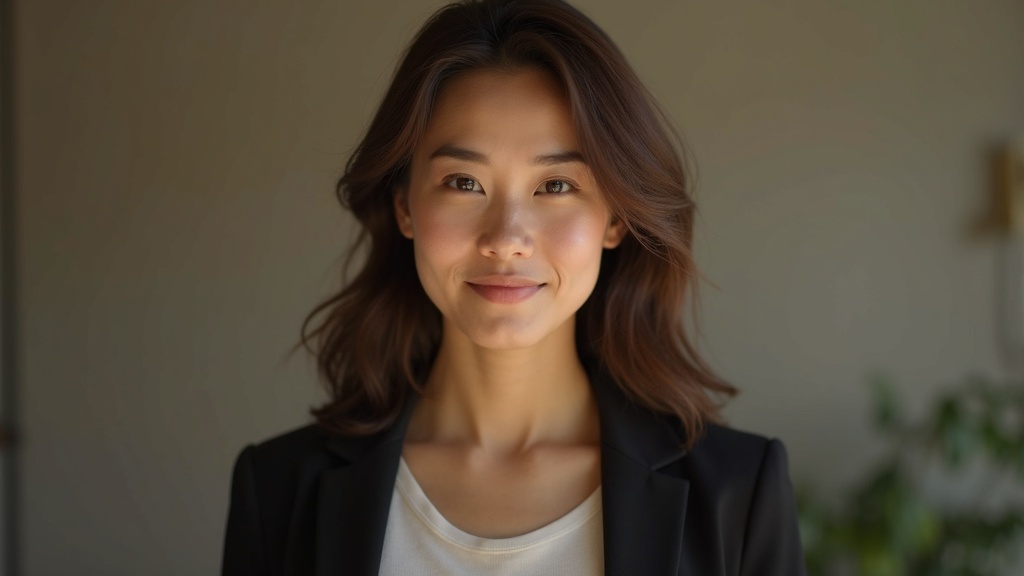
This image was created in the BlendMe.ai app.
BlendMe.ai and other AI portrait platforms are only as good as the data you give them. If you're planning to train a personalized AI model for headshots, profile pictures, or micro-videos, spending a little time preparing your photos will pay off in realism, consistency, and creative flexibility.
Below are 10 practical, research-backed tips to help you collect, organize, and upload the best possible images for AI portrait training. Follow these steps and you'll get portraits and still-to-video results that look natural across LinkedIn, socials, dating apps, and marketing materials.
Why photo quality matters for AI portraits
AI portrait models learn from patterns in the images you provide. Better inputs = better outputs. Common issues like inconsistent lighting, extreme compression, or repetitive poses can cause artifacts, unrealistic lighting, or mismatched skin tones in generated portraits. By preparing a thoughtful, varied, and high-quality dataset, you reduce errors and unlock more stylistic options.
Quick context:
- Studies of machine-learning pipelines repeatedly show data quality trumps quantity beyond a threshold—diverse, clear images yield more robust models.
- For consumer-facing portraits, human perception is sensitive to subtle inconsistencies (lighting, eyes, skin texture); small improvements in input quality yield large perceived gains.
1. Aim for 10–20 photos with variety
Most platforms (including personalized portrait systems) recommend 10–20 photos. That's enough to capture facial geometry while being practical to collect. Provide a mix of:
- Close-ups and mid-shots
- Frontal and slightly angled faces
- Different outfits and backgrounds
This range balances model training needs with privacy and time constraints.
2. Use consistent, natural lighting when possible
Soft, even lighting (diffused daylight or a softbox) reduces harsh shadows and color inconsistencies. If you include one or two dramatic images (studio, rim light), keep the majority neutral so the model learns your natural look.
3. Keep high resolution and low compression
Upload the highest resolution images you can. Avoid heavy JPEG compression or screenshots. Higher-resolution inputs help preserve skin texture and fine facial features—key for realistic outputs and image-to-video transformations.
4. Vary expressions, but stay recognizable
Smile, neutral, and small expressive variations help the model generalize. Avoid extreme facial distortions or props that fully obscure your face (masks, sunglasses) in the training set.
5. Include multiple outfits and colors
Different clothes and color palettes teach the model how you look in context and give you more stylistic outputs later (business-formal, casual, creative). Aim for at least 3–4 distinct looks.
6. Mind backgrounds — remove clutter where possible
Plain or softly textured backgrounds are ideal. Busy or highly reflective backgrounds can confuse color balance and edge detection. If you only have cluttered photos, consider using simple background cleanup or the platform’s editor to crop or neutralize backgrounds before uploading.
7. Provide consistent camera distance and framing
Keep most shots framed similar to typical portraits (head and shoulders or mid-torso). Consistency helps the model learn proportions and makes generated images easier to use as profile photos.
8. Clean retouches are OK — but avoid heavy editing
Mild retouching (basic skin smoothing, color correction) is fine. Avoid heavy filters, unrealistic color grading, or composite edits that alter facial structure. The training process assumes images reflect your real appearance.
9. Label and organize your files before upload
Name files so you remember context (e.g., linkedin_headshot_01.jpg, casual_cafe_03.jpg). If the platform allows tags or categories during upload, use them. Organized datasets make it easier to retrain or subset images for theme-specific outputs later.
10. Respect privacy and consent
Only include photos you own or have permission to use. If you’re training a team model with multiple people, ensure every participant consents and understands how images are processed and stored.
How these tips translate to better features
- AI Portraits: Cleaner inputs produce sharper, more realistic generated headshots suitable for printing and high-resolution web use.
- Editing tools: When inputs are consistent, intelligent retouching and outfit/background swaps look more natural.
- Image-to-Video: Stable lighting and multiple expressions enable smoother micro-videos and subtle motion effects without uncanny artifacts.
Mini use cases
- A consultant uploads 15 consistent headshots (neutral + smiling, business outfits) and gets polished LinkedIn photos and a short introduction video for a pitch.
- A content creator provides mixed lifestyle and studio shots to generate seasonal themed portraits and animated micro-clips for Instagram stories.
Practical checklist (before you hit upload)
- Do I have 10–20 images? 2. Are most images high resolution? 3. Is lighting mostly soft and even? 4. Are backgrounds simple or cleaned up? 5. Do photos show at least 3 different outfits? 6. Have I named files for easy reference? 7. Do I have rights to every photo?
Final note: small effort, big payoff
Preparing your photos thoughtfully takes an hour or two but dramatically improves the realism and utility of AI-generated portraits, edits, and videos. Platforms that let you train a personal model will reward consistent, high-quality inputs with outputs you can confidently use across professional and social channels.
If you want a guided experience for training a model and generating portrait variations quickly, try uploading a curated set of photos to BlendMe.ai and experiment with styles, background swaps, and image-to-video transforms.
Ready to create polished portraits and animated micro-videos from your best photos? Download the BlendMe.ai app to get started.