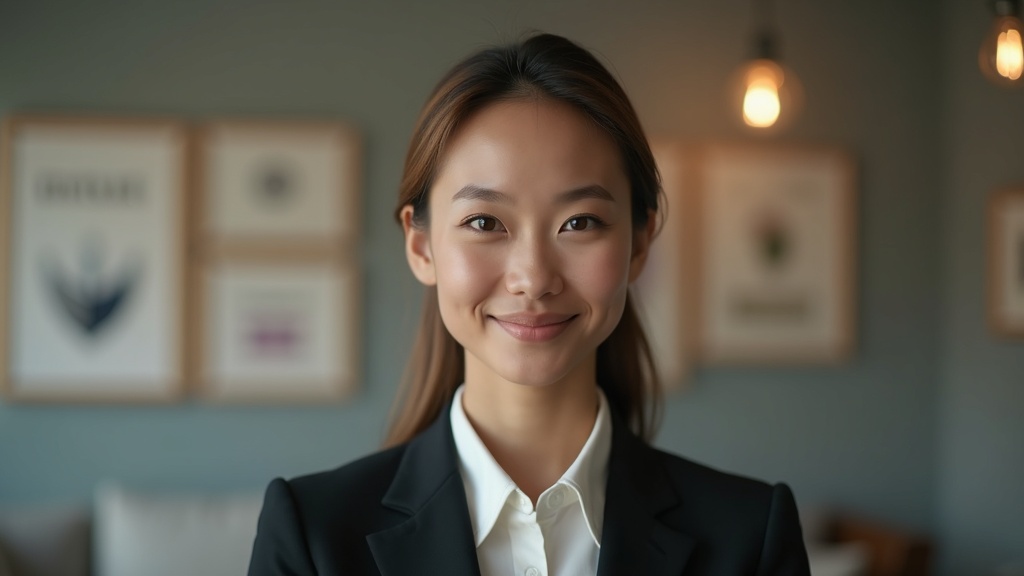
Print-Ready Portraits: How to Use AI to Create Brand Assets for Print

This image was created in the BlendMe.ai app.
Subtitle: Turn AI-generated, high-resolution portraits into business cards, press kits, banners, and more without an expensive photoshoot.
Introduction
First impressions matter on screen and on paper. Whether you're creating business cards for a conference, a press kit for the media, or posters for a pop-up event, having a high-quality portrait that aligns with your brand is essential. Modern AI tools make it possible to generate and edit high-resolution, print-ready headshots quickly — for example, try BlendMe.ai to produce consistent portraits and tailored styles that scale across formats.
Why print still matters (and why AI helps)
- Tangible assets cut through digital noise: physical collateral at events or mailed press kits often receives more attention than an email.
- Consistency builds recognition: using the same portrait style across print materials strengthens recall.
- Cost & logistics: traditional photoshoots for multi-asset campaigns are expensive and time-consuming. AI portrait generation dramatically lowers that barrier.
Keywords to keep in mind for SEO: AI portraits, print-ready headshots, high-resolution AI images, personal branding, marketing collateral, business cards.
Context & trends
Digital-first branding doesn’t make print obsolete. In fact, marketers report that integrated campaigns that include tactile materials drive higher trust and recall. At the same time, the rise of AI portrait tools means small teams and solo founders can produce professional-grade imagery without studio time. High-resolution AI images are now suitable for both web and print, provided you follow a simple workflow.
Core considerations for print-ready AI portraits
- Resolution & file formats
- Aim for 300 DPI for print; export images at least 2500–4000 px on the shortest edge depending on the application.
- Use TIFF or high-quality JPEG for final print files; keep layered or high-bit PNGs for archival edits.
- Color profile
- Convert final files to CMYK for most print jobs, but check with your printer first — some prefer RGB with color management.
- Calibrate on-screen proofs under consistent lighting to avoid surprises.
- Crop & composition
- Leave bleed and safe-zone margins for posters and business cards.
- Create multiple crops (headshot, three-quarter, full-body) so the same portrait can be reused across formats.
- Consistent styling
- Pick a signature look (background color/texture, outfit tone, lighting style) and apply it across assets so the portrait reads as a single brand asset.
How BlendMe.ai fits into a print workflow
Feature focus: AI Portrait Generation and High-Res Output
- Train a personalized model with 10–20 photos and generate unlimited portrait variations in under a minute.
- Select styles (business-formal, lifestyle, creative) and export high-resolution assets suitable for print and large-format use.
Feature focus: Smart Editing for Print
- Use AI-powered retouching to clean backgrounds, balance lighting, and remove distractions while keeping natural texture — important for print, where details are magnified.
- Generate multiple outfit or background variations to match campaign themes without another shoot.
Practical workflow (step-by-step)
- Collect a seed set: 10–20 clear photos with varied expressions and lighting.
- Train your model and generate a set of portraits in your chosen brand style.
- Export at the highest resolution and create the main crops: square (for social), 3:4 (for headshots), and wide (for banners).
- Run print-specific edits: adjust for CMYK, add bleed, and proof on a calibrated monitor or print proof.
- Package final assets into a press kit folder: TIFF/JPEG master, web-optimized JPGs, and a short style guide (hex colors, fonts, image usage rules).
Use cases and examples
- Business cards: a subtle portrait on the back increases recall—use a muted background and tight crop.
- Press kits: include a headshot + 3-4 lifestyle variations so editors can choose what fits their layout.
- Event banners and posters: use high-res three-quarter or full-body images with plenty of negative space for text and logos.
Quick tips that make a big difference
- Match context: a candid, relaxed portrait works better for community events; a crisp formal headshot is better for investor-facing print.
- Maintain file naming conventions: name files by asset and dimension (e.g., jane-doe_headshot_300dpi.tiff).
- Save editable masters: keep a lossless copy so you can re-export different sizes and color spaces later.
Final thoughts: scale, consistency, and control
AI portrait tools let you create a cohesive visual system that travels from web to print without repeated photoshoots. The key is treating generated portraits like design assets—create masters, apply consistent templates, and proof for print. BlendMe.ai makes it straightforward to create high-resolution, print-ready portraits and iterate quickly on looks, so your printed collateral looks deliberate, professional, and on-brand.
Ready to create print-ready portraits and package them into polished brand assets? Download the app.